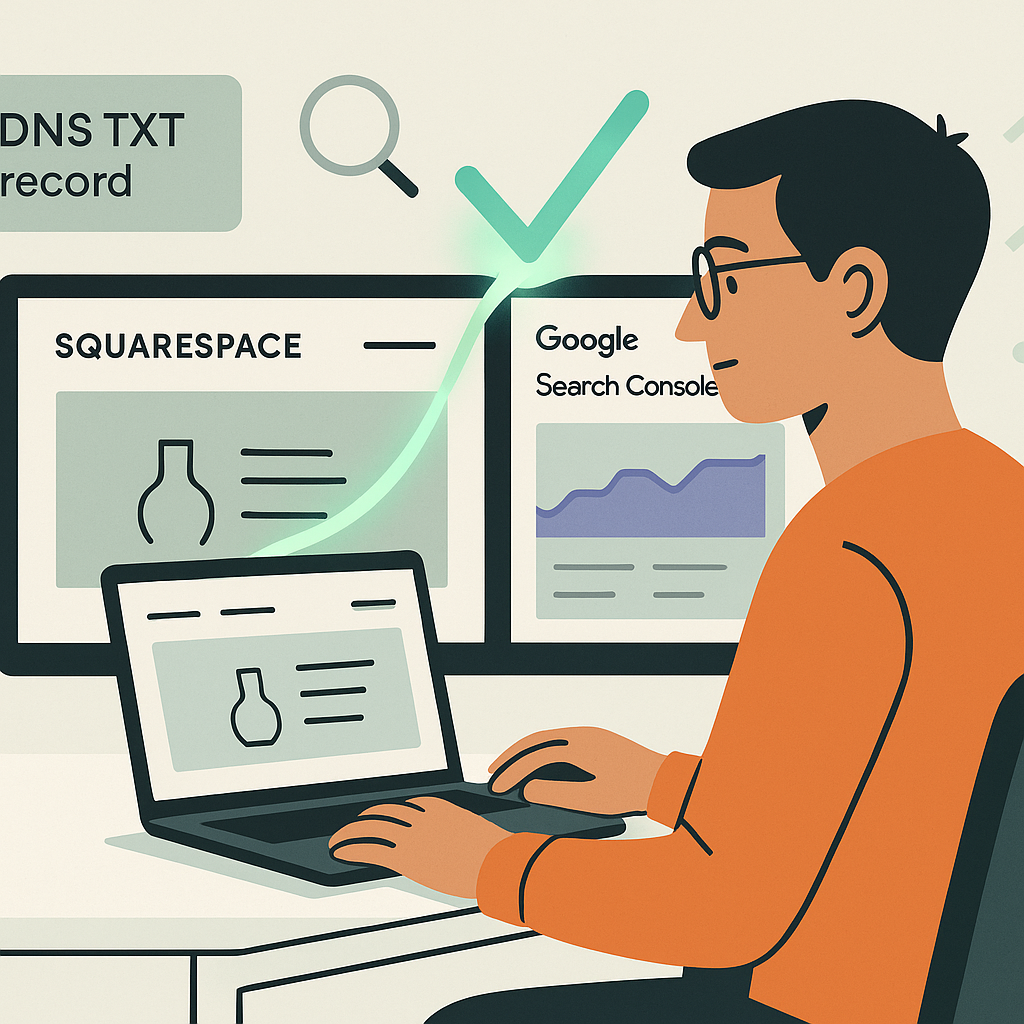
You poured hours into a sleek Squarespace website, only to discover Google isn’t indexing your pages. A missing txt record or unverified property can leave your site invisible to search. In this guide, you’ll learn how to add google search console to squarespace, verify your domain, and unlock powerful analytics.
Why Google Search Console Is Essential for Your Squarespace Site
Google Search Console isn’t just another SEO dashboard—it’s your backstage pass to how Google crawls, indexes, and ranks every page on your site. Performance reports break down clicks, impressions, CTR, and average position, while mobile usability checks ensure your visitors enjoy a seamless experience across devices. Armed with this intel, you can fine-tune content and nip crawling errors in the bud.
Unverified Squarespace sites live in the dark, blind to crawl errors, security issues, and indexing glitches that silently sabotage your SEO. Without verifying your domain, you’ll miss alerts for 404s, sitemap problems, and manual actions. That data gap means wasted opportunities and unexplained traffic dips. Adding Google Search Console to Squarespace flips the script, giving you real-time alerts and actionable insights.
By taking control of your indexing and performance data, you transform guesswork into a strategic playbook. You’ll spot underperforming keywords, monitor rich result reports, and ensure every new page or blog post is indexed fast. Ignoring Search Console is like flying blind—one small misstep, like a missing TXT record, can lock you out of Google’s organic traffic pipeline. Ready to plug that leak and harness critical, actionable search analytics.
Preparing Your Squarespace Domain for Google Verification
Before you add google search console to squarespace, double-check that you have full access to your Squarespace account and domain settings. If your domain was purchased through Squarespace, you’re all set. For third-party domains, confirm that your DNS is managed by Squarespace rather than an external registrar.
Next, navigate to Settings > Domains in your dashboard to locate the exact domain you plan to verify. Keep this tab open—you’ll need both the root domain (example.com) and any necessary subdomains (www.example.com) when adding a property in Google Search Console.
Ensure your user role is set to Owner—only owners can complete the DNS-based verification. If you share login credentials with a team member, confirm they also have owner permissions. Once verified, you’ll retain ongoing access to critical site insights without asking for additional rights. This step prevents unauthorized changes to your DNS records and streamlines troubleshooting later on.
How to Add Your Squarespace Site as a Property in Google Search Console
Once your Squarespace domain is ready, head over to Google Search Console. Sign in with the Google account you use for your business analytics. In the top-left corner, click the property selector and choose “+ Add property.” You’ll see two options: Domain and URL-prefix.
The Domain property sweeps up every version of your site—www, non-www, HTTP, and HTTPS—under one roof, making it the most comprehensive way to add property Google Search Console recognizes. Verification happens at the DNS level. If you prefer a simpler route, a URL-prefix property tracks only the exact URL you enter, but you’ll need separate entries for www and non-www variations. For Squarespace users, the Domain property is generally the recommended path—one DNS record verifies everything.
Select Domain and type your root domain (e.g., example.com) without any prefixes. Click Continue, and Google will display a TXT record snippet for verification. Keep this tab open—it’s your lifeline for the next step. Copy the entire code now, then switch back to your Squarespace DNS settings to paste it exactly as shown—no extras or alterations. Don’t hit verify just yet—you’ll need to add this to Squarespace first.
Verifying Your Squarespace Website with a TXT Record
When you add google site verification txt record, you’re essentially proving to Google that you own your Squarespace domain. This TXT record is a simple DNS entry hosting a unique code snippet provided by Search Console. Once in place, Google can crawl, index, and report on your entire site’s performance.
Locating Your Google Site Verification TXT Record
After adding your property, Google Search Console presents a TXT record line under Domain verification. It looks like: Name: @, Type: TXT, Value: google-site-verification=XXXXXXXX. Copy the full Value string without quotes—you’ll paste this into Squarespace’s DNS panel in the next section.
Adding the TXT Record in Squarespace
In Squarespace, go to Home > Settings > Domains. Click your domain and choose DNS settings, then select Add Record. Enter:
- Name/Host: @
- Type: TXT
- Value/Data: Your google-site-verification=XXXXXXXX code
- TTL: Automatic or 3600 seconds
Save the record and wait for Google to detect it. This entry lets Search Console confirm your ownership at the DNS level. Squarespace may warn you about duplicate records—ignore this if it’s your first Google verification entry. If you purchased your domain externally, ensure the nameservers are pointing to Squarespace before adding the record.
DNS Propagation and Troubleshooting Delays
Changes can take from a few minutes up to 48 hours to propagate worldwide. Use tools like DNS Checker or Dig to monitor the TXT record status. If verification still fails after a day, check for typos, extra spaces, or incorrect host values. Then wait a bit longer before retrying.
With the record saved, return to Search Console and click Verify. Most domains register changes quickly, but patience can pay off—you’ll know ownership is confirmed when the success message appears.
Confirming Verification and Initial Setup
Once your TXT record is live, navigate back to Google Search Console and click the Verify button. Search Console will query your DNS records to match the google-site-verification TXT entry. A green checkmark or success banner confirms that you’ve successfully added Google Search Console to Squarespace. Verification status updates instantly for most domains. Don’t worry if it takes a few moments—verification typically completes in under five minutes once DNS propagates.
If verification fails, double-check your TXT record for any typos or extra characters. Wait another hour and retry. As an alternative, consider verifying with an HTML tag in your site’s header or through the Google Analytics tracking code if you have it installed. HTML tag verification can be done by pasting a meta tag into your site’s Code Injection header section. Once verified, submit your sitemap to kickstart indexing.
Diving into Key Search Console Reports and Next Steps
Now that your site is verified, you’ll land on the Overview dashboard—your command center for search analytics. The Performance report shows clicks, impressions, click-through rate (CTR), and average position for your keywords. Filter by web, image, or video search to dissect how different content types perform. Metrics update daily, giving you near real-time insight into which pages attract traffic.
Be sure to submit your sitemap.xml under Indexing > Sitemaps. Squarespace automatically generates a sitemap at /sitemap.xml, so just enter your full URL and press Submit. This helps Google discover new pages faster and improves indexing accuracy.
Finally, set up email alerts in Settings > Preferences to receive notifications about critical issues like mobile usability errors, manual actions, or security problems. Regularly check the Coverage report for crawl errors, and fix any 404s, redirects, or blocked resources. Consistent monitoring turns raw data into growth opportunities.
Troubleshooting Verification and FAQs
Why Is Google Not Indexing My Squarespace Website?
Sometimes, your site remains unindexed even after verification. Most often, this is due to DNS propagation delays—give it 24 to 48 hours. If indexing issues persist, use URL Inspection to see if Google can fetch your pages. Double-check that your robots.txt isn’t disallowing any page you want public. Fix any reported errors, then request indexing manually.
Switching Domain Providers and Re-verification Tips
When you move a domain from another host to Squarespace, your existing DNS records might disappear. After updating nameservers to ns1.squarespace.com, ns2, etc., you must re-add the google site verification txt record in your new DNS settings. Then, return to Search Console and hit Verify again. If you manage multiple subdomains, repeat verification for each one. Keep a backup of any DNS records before switching providers to avoid surprises.
Alternative Verification Methods
If DNS verification feels daunting, Google Search Console offers HTML tag verification. Copy the provided meta tag and paste it into your Squarespace site header via Settings > Advanced > Code Injection. Or, if you have Google Analytics installed with the same account, select Analytics verification. Keep one method active—you don’t need to combine multiple tags, but DNS remains the most robust solution.
If DNS record not found errors persist, double-check host values and TTL settings, then retry after a few hours. Persistent issues often stem from registrar restrictions—contact support for guidance. Smooth verification is the foundation of efficient SEO management.
Your Launchpad to Smarter SEO Insights
With your Squarespace site verified, Google Search Console transforms from a daunting tool into your strategic partner. Track keyword performance, fix technical issues, and submit sitemaps to keep your site in Google’s good graces. Each report you explore sharpens your marketing playbook—so go ahead, dive into those metrics and watch your organic traffic climb.
Share this
Related Posts
-
AI-First SEO: The Future of Search Engine Optimization
In November 2025, AI Overviews appeared on 15.69% of Google searches — down from a…
-
ContentOps: Streamlining Your SEO Workflow from Ideation to Publication
ContentOps: Streamlining Your SEO Workflow from Ideation to Publication Imagine a marketing team drowning in…
-
AI Content Writing Services: What Marketers Need to Know in 2024
AI content writing services promise speed, but winners in 2024 don’t outsource thinking to a…